Easy Handmade Birthday Card Ideas
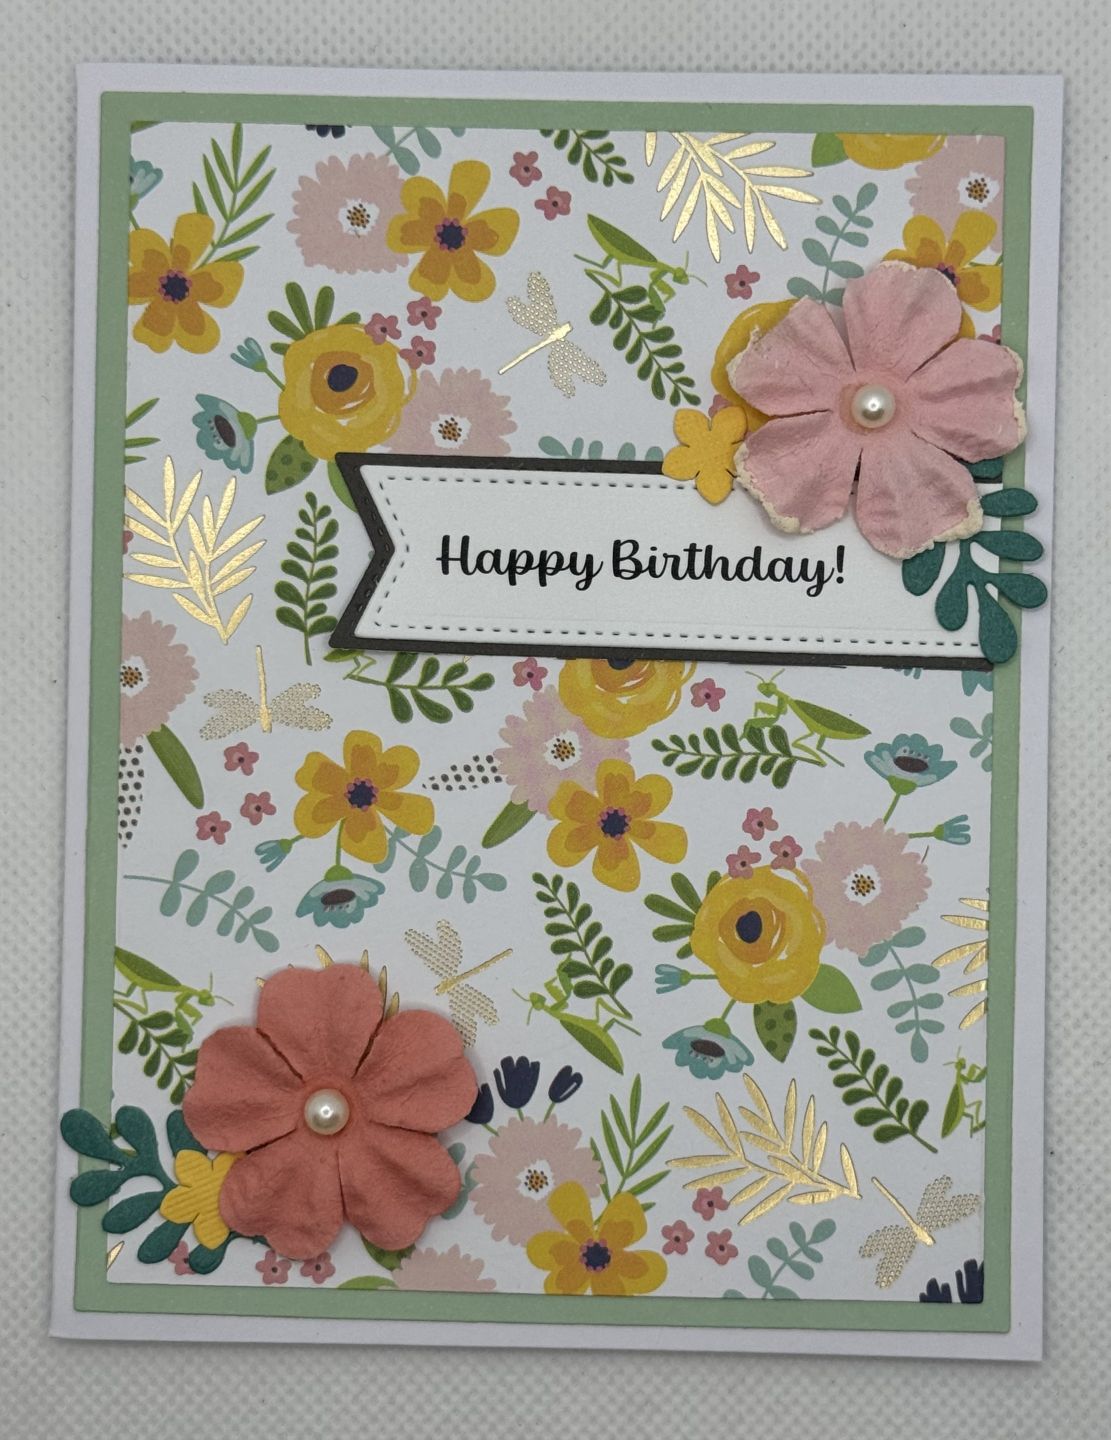
One easy card to make starts with a white base card. The size of this card is an A2 size. Find a pattern paper that you like and pick a coordinating solid color to use as a border around the pattern paper. Using the solid color paper, cut out a rectangle 1/4" smaller than the size of the card base. Using the pattern paper, cut out a rectangle 1/4" smaller than the size of the solid color paper. To make the sentiment, your can either hand cut a banner shape or if you have a paper craft metal die, you can cut the banner or tag from the die. This particular die has stitching detail in the metal die. Cut one shape 1/4 larger than the white paper so you have a border around the white paper. The white paper is where the sentiment will be printed on. Embellish the card with paper flower stickers and paper leaf cut outs. If you have metal dies that are small flower shape, you can make your own paper flowers. The paper flowers are from a local craft store and has a little pearl in the middle of the flower.
I consider this design easy because there are not a lot of steps and you can use stickers if you don't have the dies to cut the flowers and leaves. The one tool that is helpful is a paper cutter. That way, you can cut straight lines as oppose to hand cutting the paper with scissors, which often times, turns out crooked or wonky. If you don't have metal craft dies in your supplies stash, look for stickers or die cut outs to use on your cards.
This is a universal design you can use for almost any type of greeting card whether it's a handmade birthday card, thank you card or sentiment greeting card.
Card size: 4 1/8" wide x 5 1/2" high or sympathy card. Simply change the sentiment to your desired type of card or occasion.
- Solid green border size: 4" wide x 5 1/4" high
- Floral print paper size: 3 3/4" wide x 5" high
- Sentiment outside grey banner size: 2 7/8" wide x 7/8" high
- Floral Pattern paper: Brand: American Crafts, Jen Hadfield Home + Made Patio Party Paper Pad. (Note: paper might be discontinued as of this posting)
- Dies: Leaf and small yellow flowers. Spellbinders Cherish
- Dies: Rectangle- Spellbinders
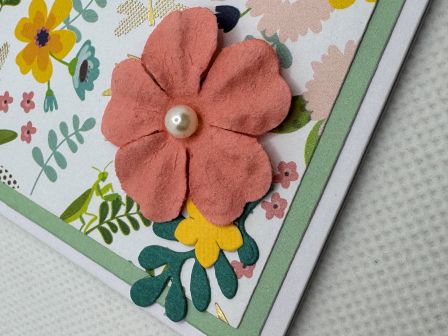
This image shows the paper flower enlarged. A white center pearl provides texture and dimension. The larger peach flowers are stickers and were purchased at a craft store. If you have flower dies, you can create a flower for your card. If you create your own flower, you can substitute the pearl with a gem or other bead.
The leaves and small yellow flower help tie the colors all together. They are cut from metal craft dies from the brand Spellbinders. The name of the style is "Cherish". If this particular die is no longer being made from the manufacturer, you can sometimes find some sold on Ebay or other reselling sites.
You don't have to use this particular die set. Try to find a dies that have small leaves and small flowers if you want to copy the look of this card.
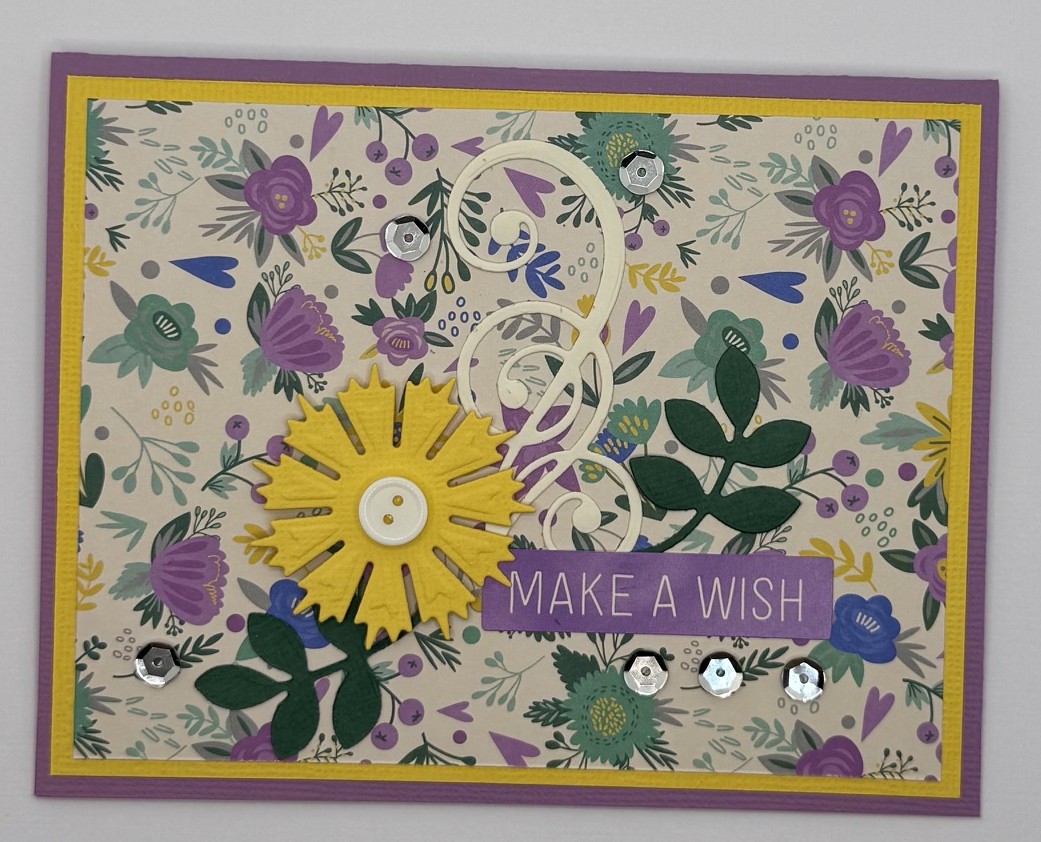
This next handmade card does require some metal cutting dies but if you have stickers or can purchase stickers, then you can recreate the card using your own stickers. Using purple cardstock paper, create an A2 size blank card. I would first choose a pattern paper you like, preferably one that has several colors you can pull from to use as the border, flower, leaves and flourish.
The kit I used is from Spellbinders and it is from Spellbinders Paper Arts Company.
Paper, Dies, Embellishments: Spellbinders Makers Mart Card Kit of the Month, April 2017. From the kit, I used several silver sequences, a white button, and a "Make A Wish" sentiment sticker. The yellow flower has foam sticker so that if add some dimension to the card. The flourish is cut from cream paper and the flower is cut from yellow paper.
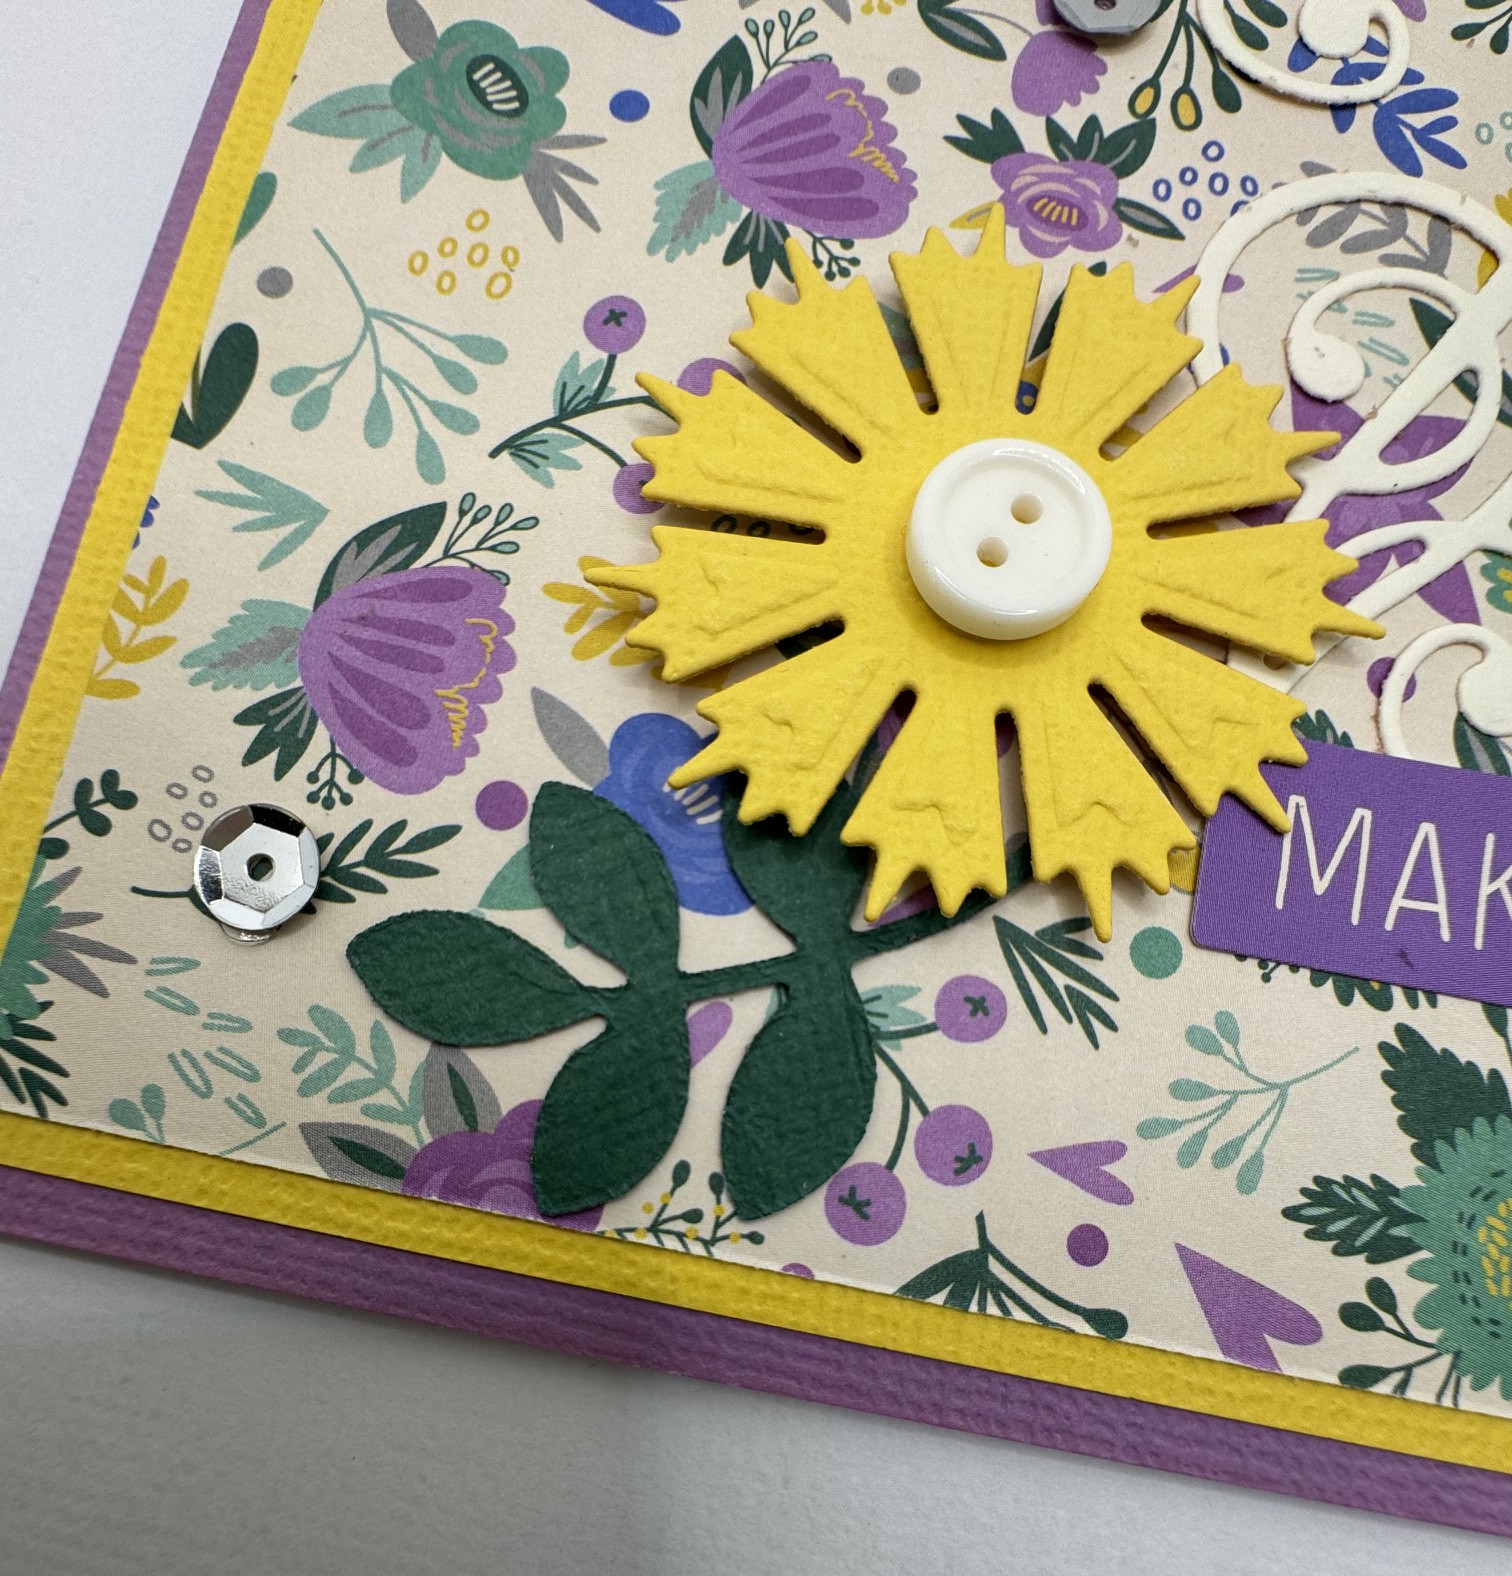
Here is an enlarged image of the die cut flower. The button was included in the card kit but you can also use a small circle shape like a sticker, pearl, rhinestone or die cut a small circle for the center flower.
If you don't have sequence to embellish as shown in the image on the left and below, a gem or pearl will be just as pretty.
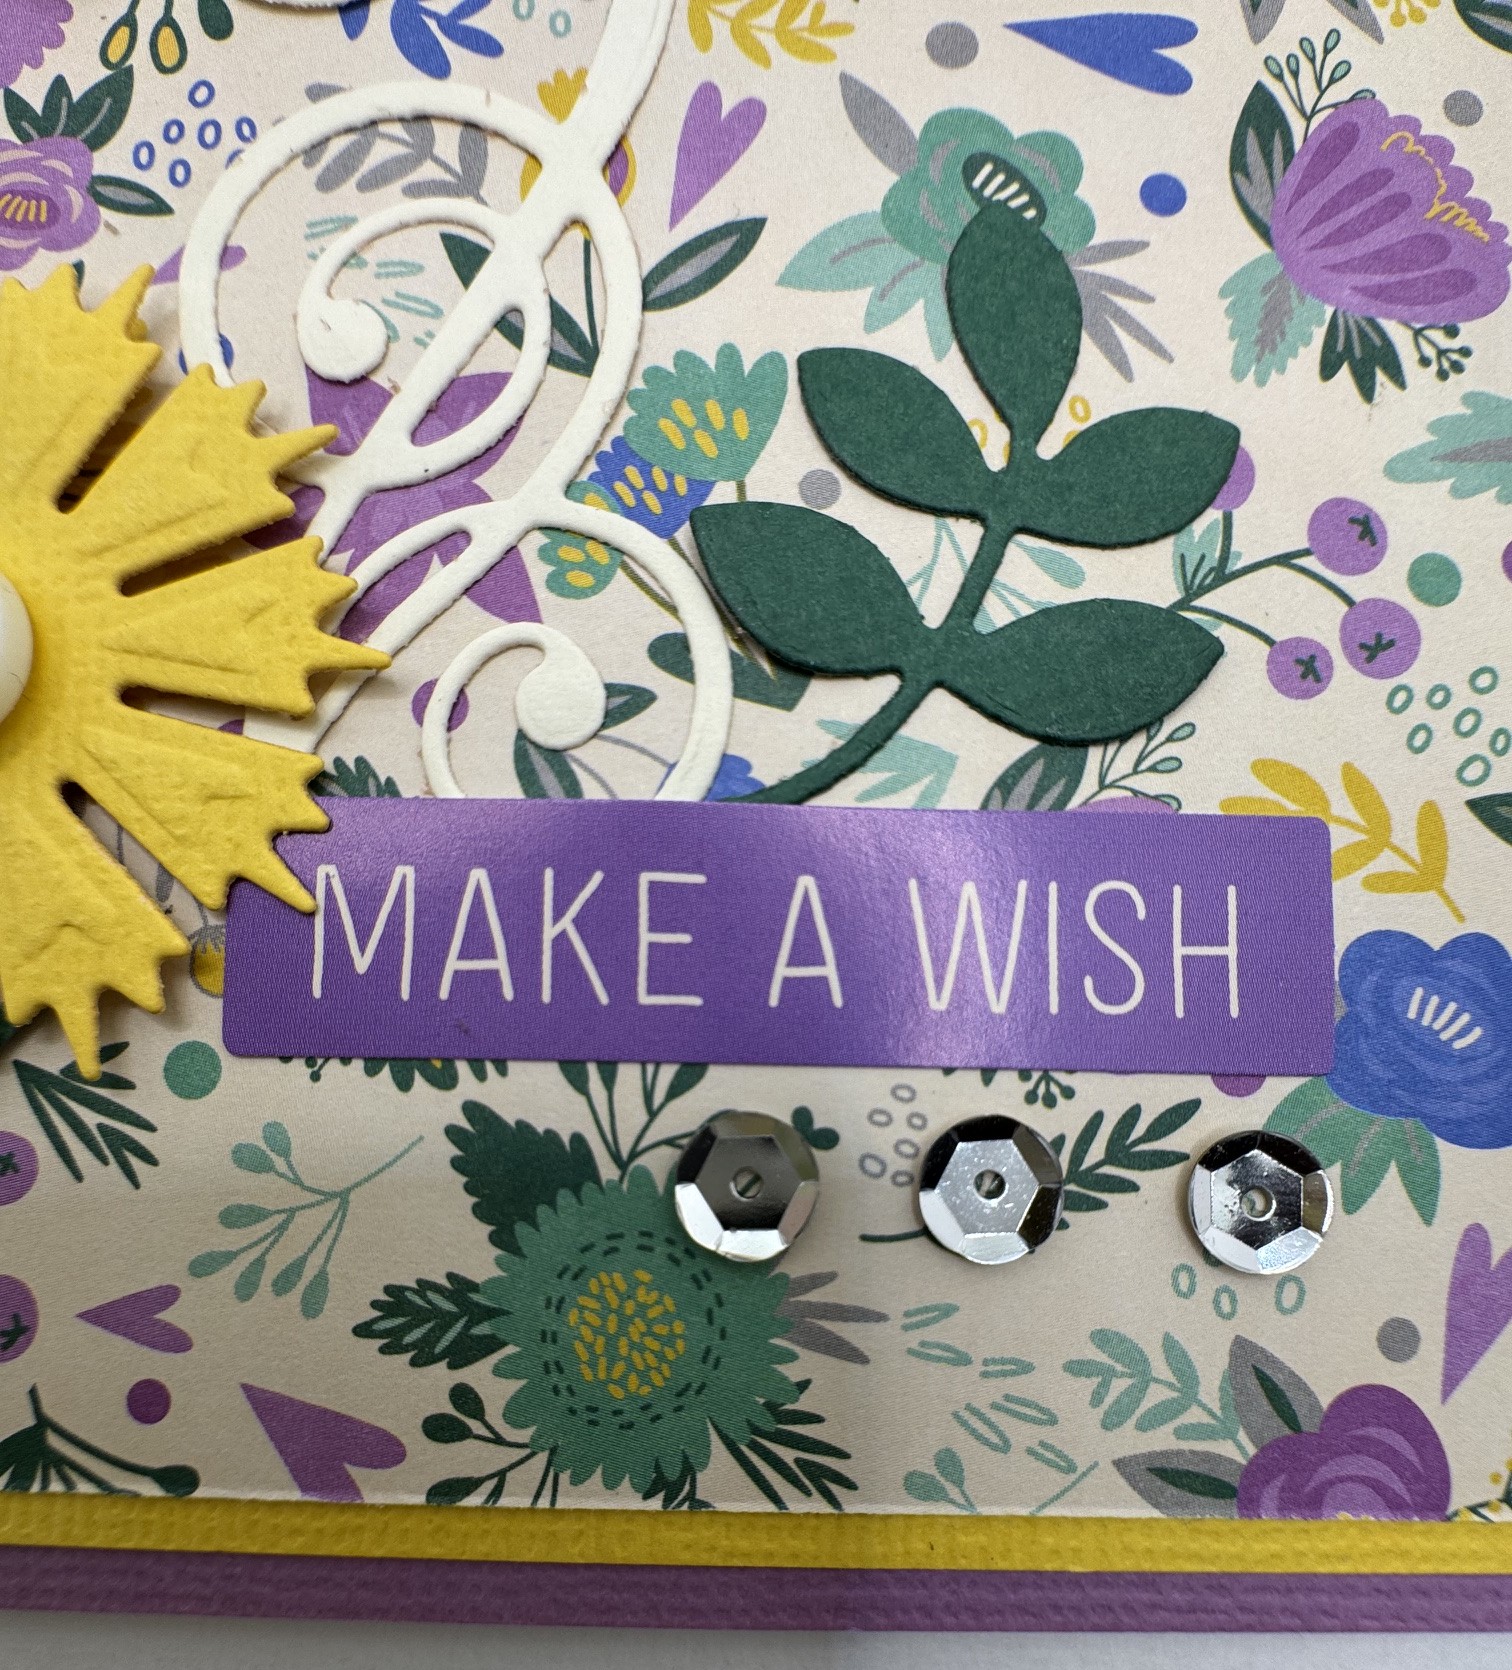
The sentiment that says "Make A Wish" is from the Card kit. It is a sticker but if you would like to stamp a sentiment, you can make your own message. Instead of the sentiment saying "Happy Birthday", "Make A Wish" also refers to a birthday message.
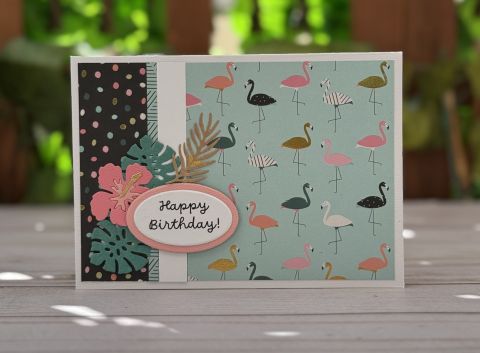
Another style of an easy handmade birthday card is this landscape orientation card. The sentiment, which says "Happy Birthday" has foam tape on the back which helps make the sentiment pop up more and gives the card dimension. The sentiment is cut from an oval metal paper die using two sizes that nest. The larger pink oval bordering the sentiment coordinates with the pink flamingos and the tropical flower. I used the coordinating pattern paper using a flamingo print, polka dots and a line pattern design. I used a strip of the white paper to help bring balance to the colors and make the pattern papers pop more.
I think the tropical flowers and leaves coordinates with the flamingo paper print.
Card size: 5-7/8" wide x 4-1/8" high
- Flamingo pattern paper: 3-5/8" wide x 3-13/16" high
- White solid paper strip: 1/2" wide x 3-13/16th" high
- Blue with dash pattern paper: 3/16" wide x 3-13/16th" high
- Black polka dot pattern paper: 1-3/16th" wide x 3-13/16th" high
Supplies Reference
- Paper Pad: Hobby Lobby The Paper Studio, Tickle & Tweet.
- Dies: Leaves & flowers, Sizzix Thinlets, Courtney Chilson, Tropical Elements #663576
- Dies: For Sentiment, Stampendous! Fran's Pop-Up Die Set, Ovals
Another card where I used the Spellbinders Card Kit is this one. The yellow burst is cut from the die in the kit as well as the sentiment that says "Celebrate". The "Celebrate" text was created in the Microsoft Powerpoint program and I printed it out on cream cardstock paper. The cream flourishes were also cut from cream cardstock paper. The diamond inside the burst is a sticker from the kit as well as the pattern paper. The corners are cut with corner punches and the purple banner is hand cut with the paper trimmer and scissors help cut the bottom of the banner, in which I cut the ends at a point.
This easy handmade card is created from premade embellishments and stickers along with adhesive gems. Cut a solid color paper that coordinates with pattern paper. Add a sentiment at the top and adhere adhesive gems along the border of the solid paper and pattern paper.
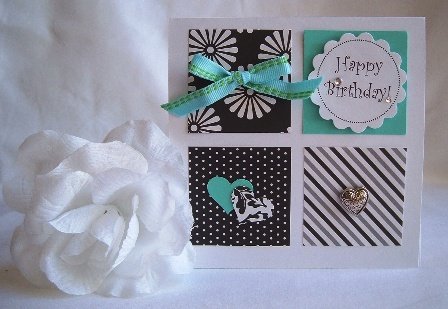
Here is an easy handmade birthday card using a square shaped greeting card, pattern paper, solid paper and some various embellishments. If you have small scraps of paper, this is an ideal card to use up your paper scraps. Using black and white color scheme can be used with just about any accent color. Try, the black and white with red accents colors for an easy Valentine's Day card. You can also use different pattern paper that coordinates. Most paper packs have coordinating solid and pattern paper. This can make it easier to mix and match instead of having to look through your stacks of paper.
This card idea is perfect when you have various embellishments like buttons, ribbon, or gems. Sometimes you might have single random pieces of decorations laying around that can be used to decorate your card. I happened to have flat heart button and ribbon. I punched the 2 small hearts using a heart punch. You can also use left over stickers that are sitting in your sticker box to decorate one of the squares. The sentiment is made from printing Happy Birthday inside a circle border. I then cut the circle using a scallop circle punch. You can also use a birthday stamp or sticker for your birthday sentiment. The card is blank inside so you can create your custom message.
The card is square so the small pieces of pattern paper are also square and positioned equally from each square.
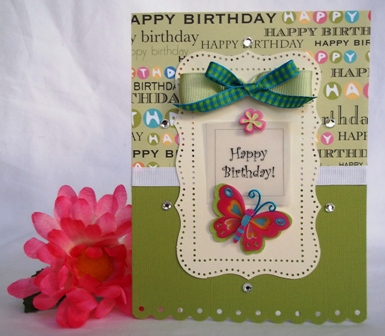
Another easy handmade birthday card ideas is this green card. Use pattern paper and Solid paper to break the card up and you can either place a ribbon in the middle of the card or a solid strip of paper. I used a border scallop punch on the bottom of this card but you can skip this step if you want to save time. I used Martha Stewart's "Punch Around the Page, Cherish" punch to create the fancy box or shape that features the sentiment but you can buy pre-cut shapes as well. Or a simple rectangle will do the trick. The sentiment is embellished with a butterfly and flower sticker. I had a small gingham ribbon so I made a small bow.
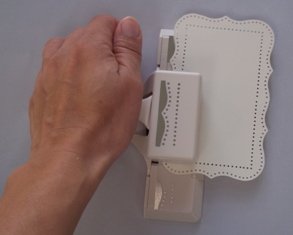
I also had ribbon to match. I often buy supplies of ribbon on sale just so I have them handy when I make cards. I layered 2 bows, one is made of grosgrain ribbon and the other a check.
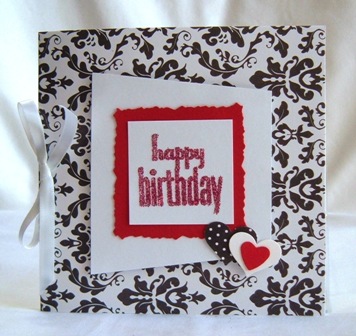
Another easy card idea is this black and red card. Cut your paper card stock into a square card. Cut an asymetric shape from white cardstock and place it in the center of your card. Cut a red square from cardstock paper. I used a deckle scissors to cut the edges but you can make it straight if you don't have the scissors. I then stamped a "Happy Birthday" message on white cardstock using red glitter. The final touches are hearts, using a punch heart, and then glueing some white satin ribbon on the side.
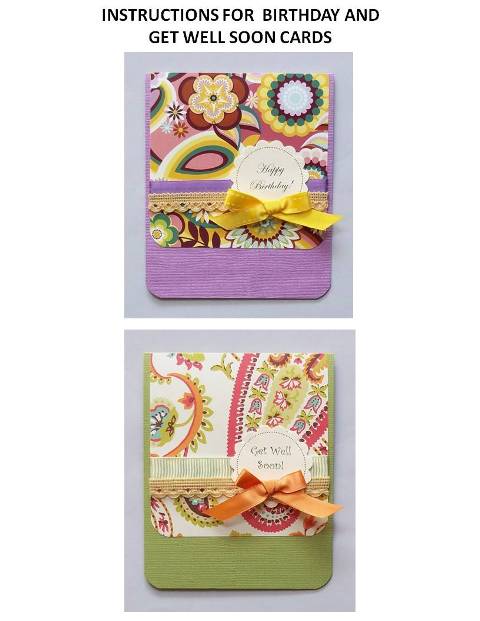
These two cards have the same layout but one is for a birthday and the other, a Get Well Soon card. This design is great for when you have a busy print but want to feature the paper print because the paper is so pretty. You will need a corner punch to cut the bottom edges and a circle scallop punch to cut out the sentiment. If you don't have a corner punch, then leave your card at a 45 degree angle. It will still look great! Ribbon and trim help compliment the card and a small bow adds that last touch.
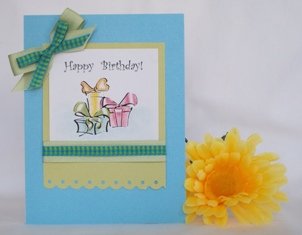
Another idea using a border punch is this card above. Start with your base card and affix a clip art of presents with a Happy Birthday sentiment. Use coordinating ribbon to accent the bottom of your clip art. And then on the corner of the sentiment, add a double bow. As you can see from the various cards on this page, the basics are take a blank card, place a center rectangle in the middle of off center of the base card, add a sentiment and some embellishments and you have a quick and easy handmade birthday card.
Back to Home Page
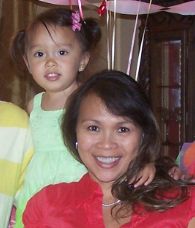
Welcome to Card Making Corner. My name is Chloe and I am a card making enthusiast. I love sharing my card ideas so peruse my site to discover beautiful and fun greeting cards you can make yourself.
GET THE LATEST
CARD MAKING IDEAS BY
SUBSCRIBING TO MY NEWSLETTER