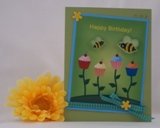
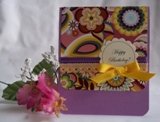
Create a Birthday Card
Using Free Clip Art
Click here for instructions
There are lots of free clip art images available on the web but I often go to Microsoft's website to download lots of images.
Go to
http://office.microsoft.com/en-us/images/
and you can search for all kinds of images.
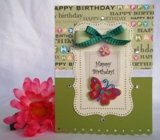
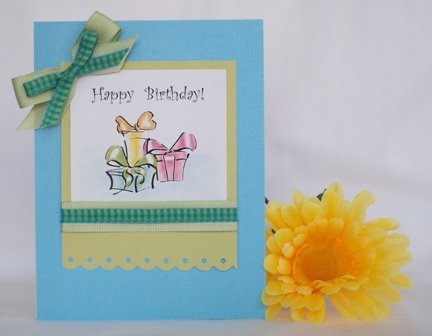
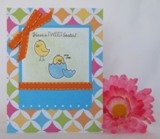
For this birthday card idea, I used an image of presents. Often times, the images are colored but sometimes you can edit the image if you have software that allows you to revise it.

I don't have a graphics program so I used Microsoft's Powerpoint to revise this image.
- After you download the image, save it in a Powerpoint file.
- Enlarge the image so that it is easier to work with. Save a copy of the image on another slide just in case you make a mistake.
- Right click on the image and select "ungroup" or from your format menu, select "ungroup" and you'll see lots of lines and tiny boxes and circles. If you get a prompt that says "Do you want to convert it to a Microsoft Office drawing object?", click "yes"(Depending on your Powerpoint version, you may have to look for the "group/ungroup" option)
- Click on the lines that outline a color and delete them. You may have to delete several layers of colors.
- When you remove all the layers of filled in colors, lasso the entire image so that all the components of the image are selected and from the format menu, click on "group" or "regroup"
.
Note: when the image is printed on a black and white laser printer, most of the colors will be light so you can color over it if there is a little bit of shading.
Now if you don't want to go through this process, then use the existing colors and just pick paper and trim that match the image colors.
Below is a link that has the images with its existing colors and also images where I've removed most of the colors so that you can make the same card above.
Click here to view printable sentiment
in your browser, or right-click to download it.
If you are using cardstock paper to print it out, please refer to your printer instructions for paper weight requirements so you don't jam up your printer.
If you are using standard printing paper, layer two sheets of paper when making your card. This helps make the sentiment sturdier and helps white paper look opaque and bright.
- Print out the sentiment.
- Tape the sentiment over a blank sheet of the same colored paper. Apply tape along the inner edges of sentiment so there is no gapping inbetween the sheets of paper.
- Cut both sheets together.
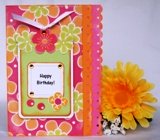
More Card Making Ideas
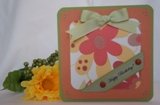
If you haven't already perused the Easter card section, here are a few Easter cards I've created.
 | 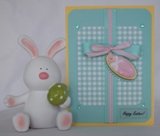 | 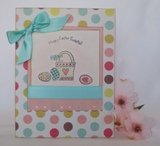 | | Card Ideas for Easter | Easter Card Ideas using Gingham | Cute Easter Card Ideas |
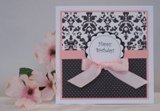
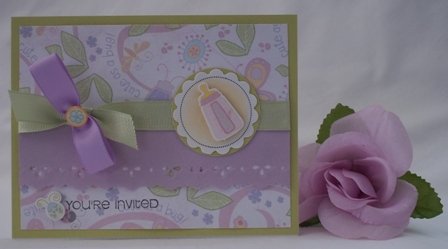
I'm in a baby card making mode so here's an idea for a baby shower invitation. This is a versatile card design and I've made a
thank you card
using the same layout.
Click here for instructions
HAPPY CARDMAKING EVERYBODY!
|